Answer
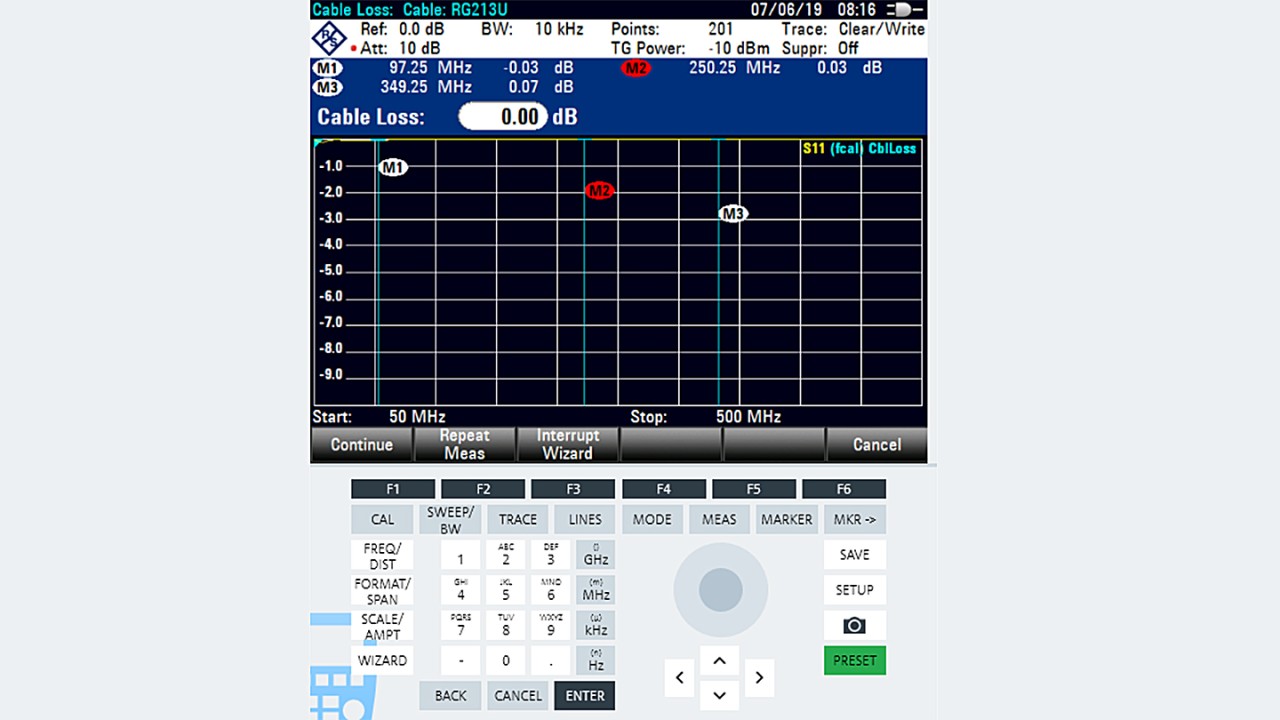
Best way to show the usage of the ZVH Wizard is an example explaining step by step. Let’s say we want to measure in an area of 50 up to 500MHz with RG-213U cable and have some measurment on defined frequencies.
Step 1 - Prepare and save a Dataset on the instrument
To be able to use the wizard, we need to prepare a Dataset defining the desired frequency range, the working mode and the desired markers first. The instrument should be in the „Antenna and Cable Test“ mode (just fort he case, your unit has some other mode options). It is more comfortable to perform these steps in Instrument View using the Remote Display. Allways the first step should be to get into a well defined state of the analyzer by pressing the [PRESET] Button.
- After that press [FREQ]
- Press (Start) and enter 50MHz
- Press (Stop) and enter 500MHz
- [MEAS]-(1 Port-Cable-Loss)
- [SCALE / AMPT] – (Range / Ref pos) – 10dB
- [MARKER] – 100MHz (New Marker) – 250MHz (New Marker) – 350MHz
Step 2 - Save the dataset using Instrument View
After the workspace is completely defined, we save it to a Dataset.
- In Instrument View click on „Instrument“ / „Active to Dataset“
- A new window will open for saving the work space now. You don’t need to change the folder.
- Let’s use „Dataset_50-500.set“ as name for our file. And save it.
Step 3 - Defining the Wizard
- Open the ZVH Wizard by clicking „Preparation“ / „Wizard Sets“
- Choose the ZVH
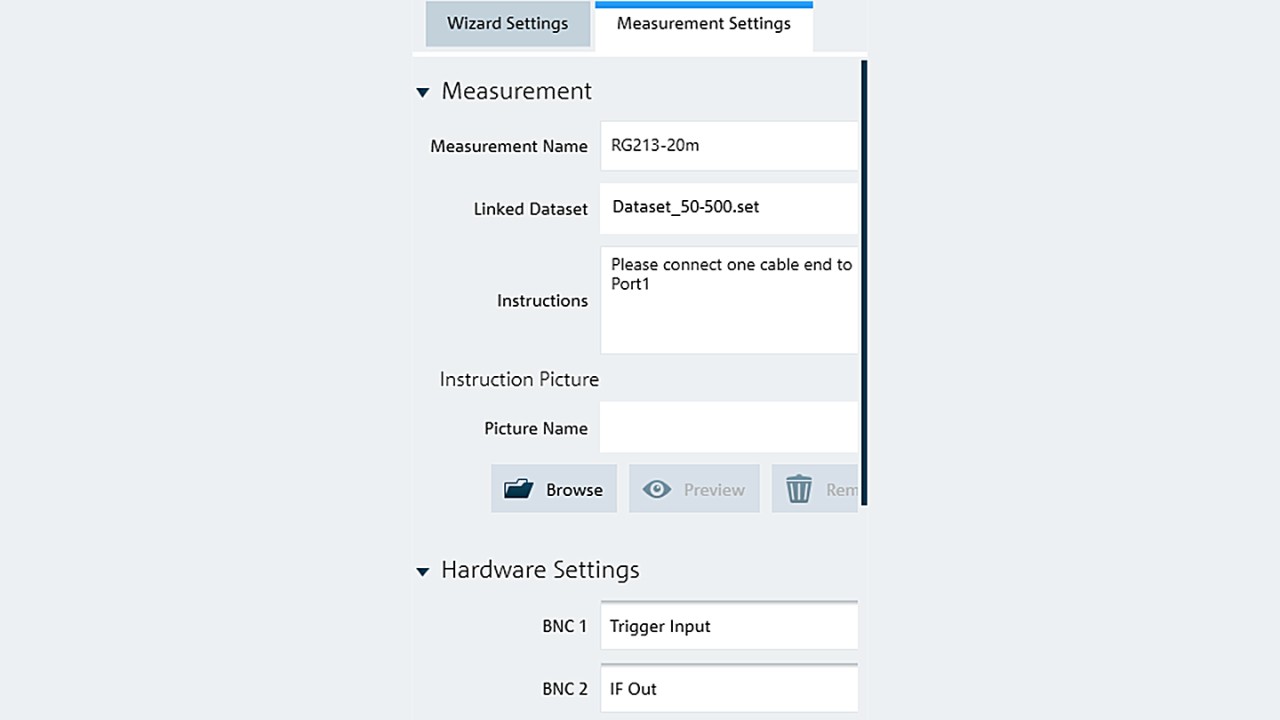
- You can find your data set in the left upper frame – please click on it and take it to your measurements by using the +(Add) key.
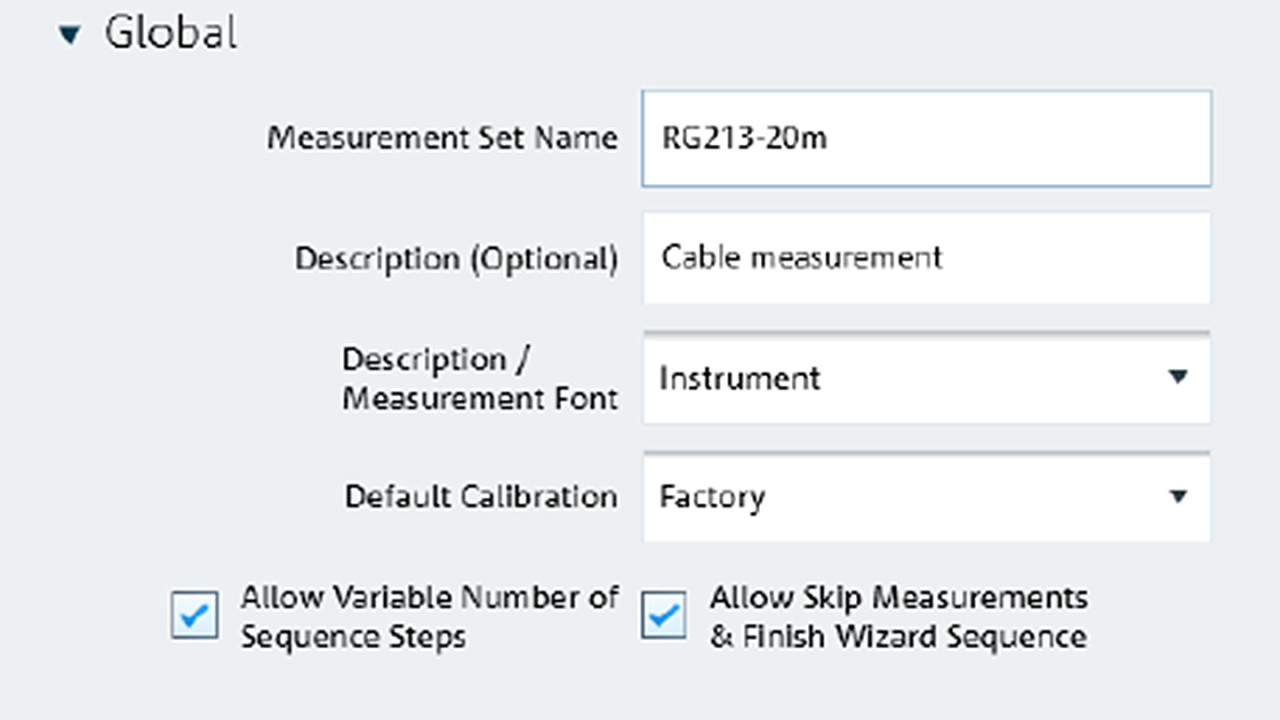
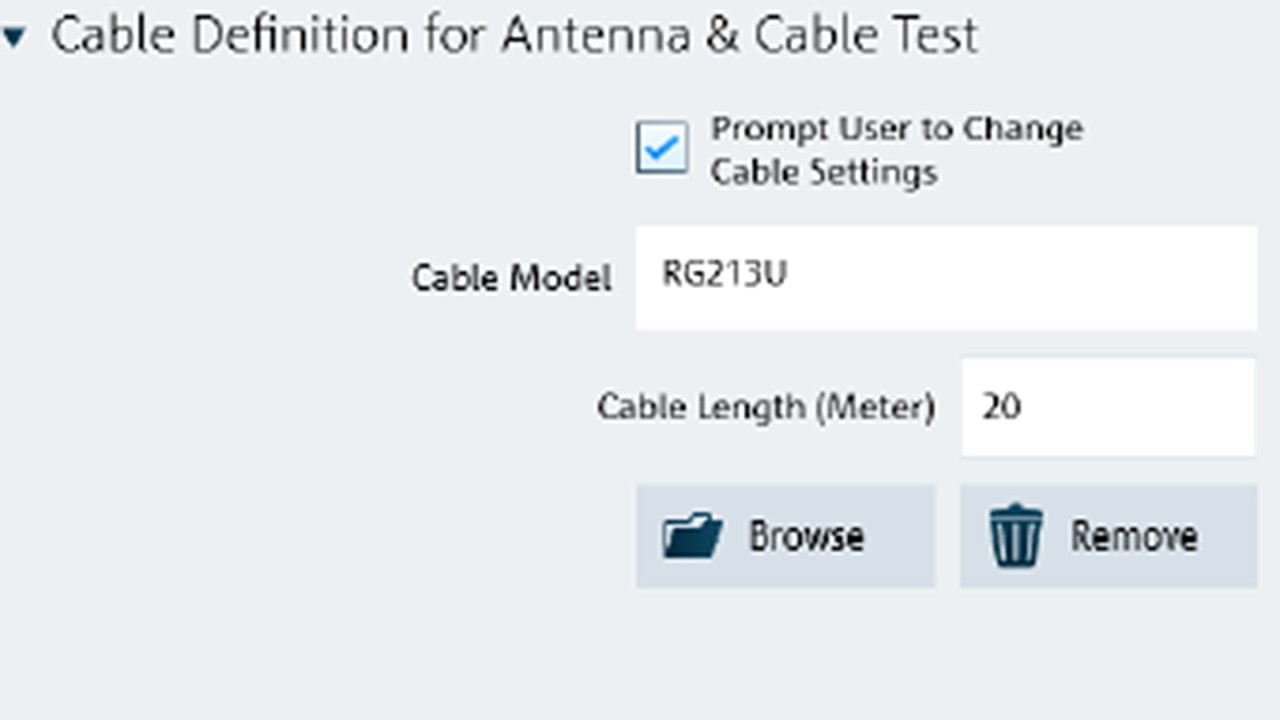
- Type in all the Wizard informations:


